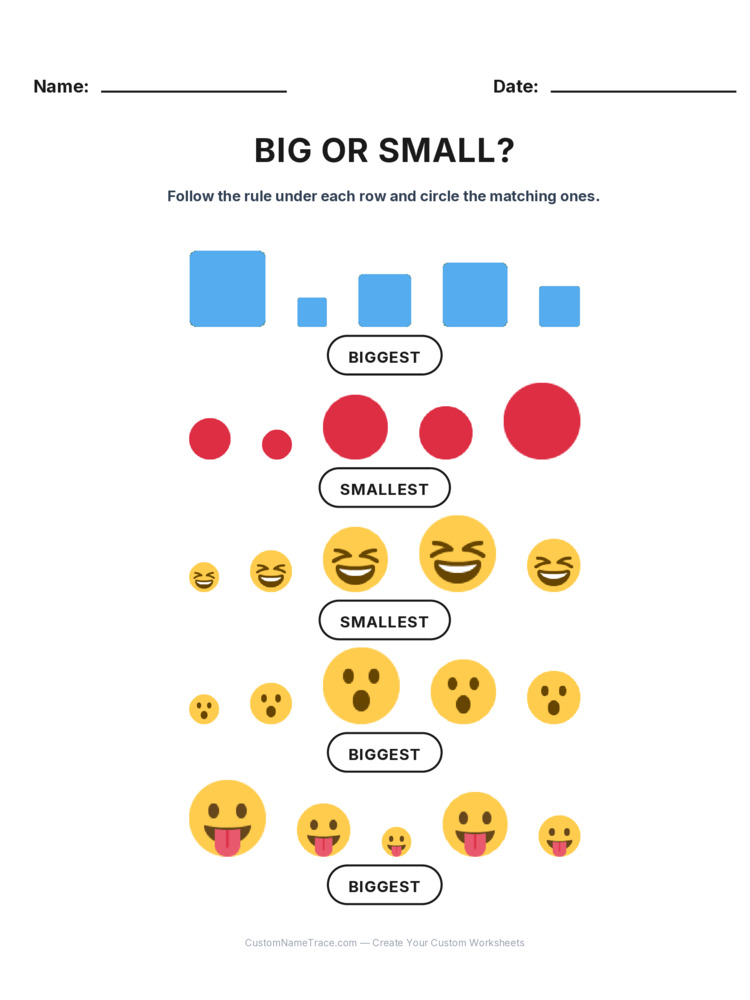
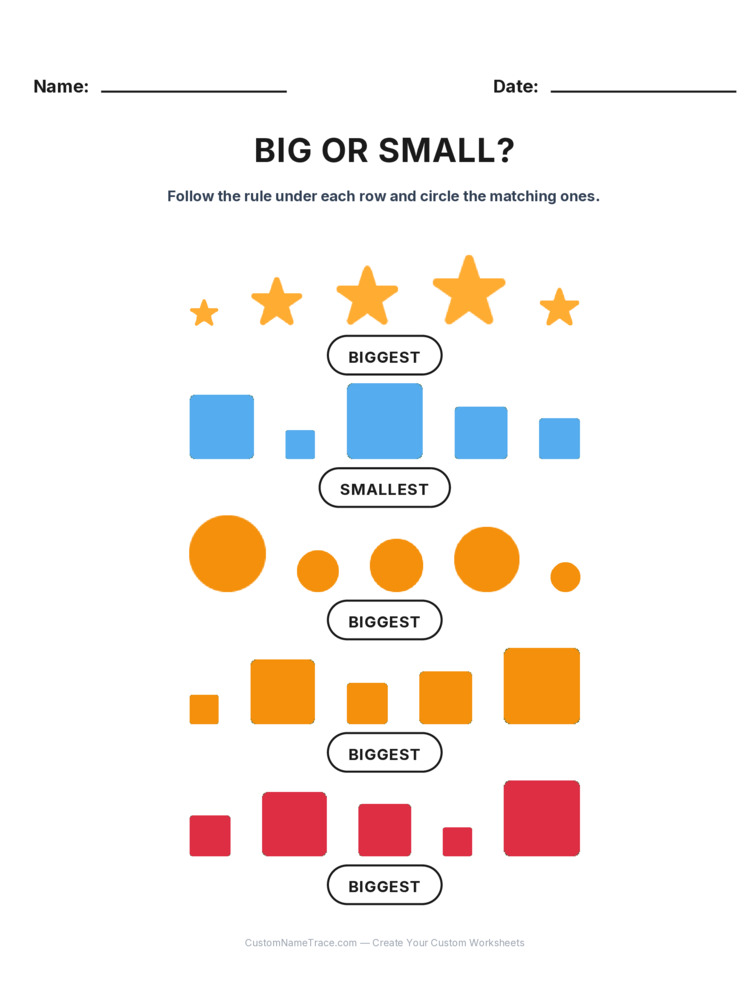
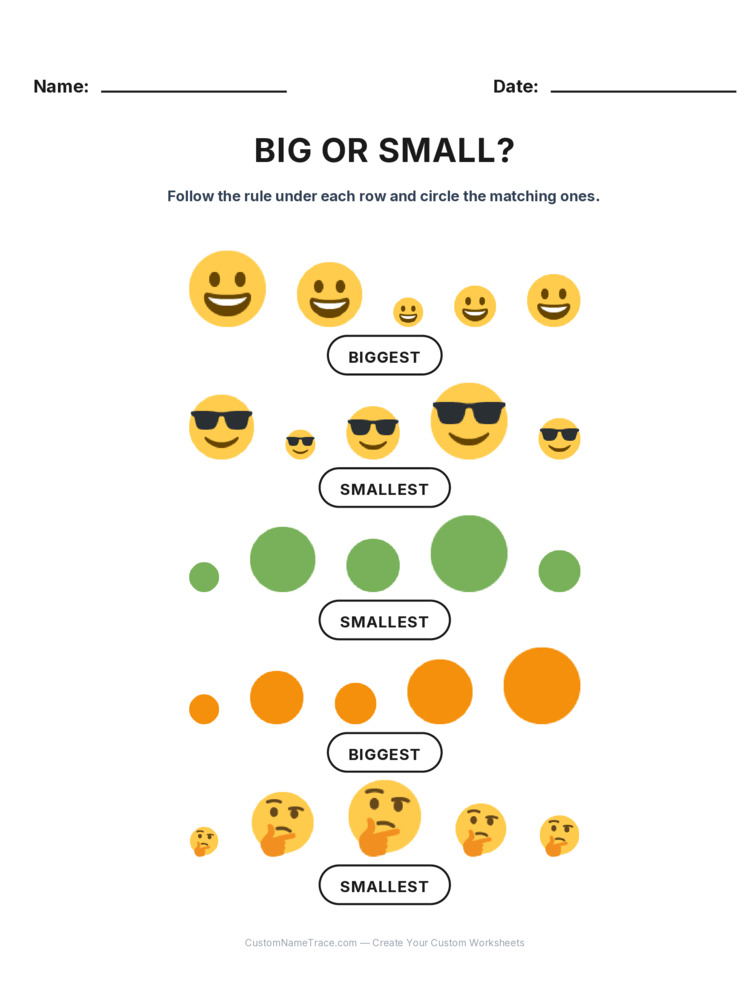
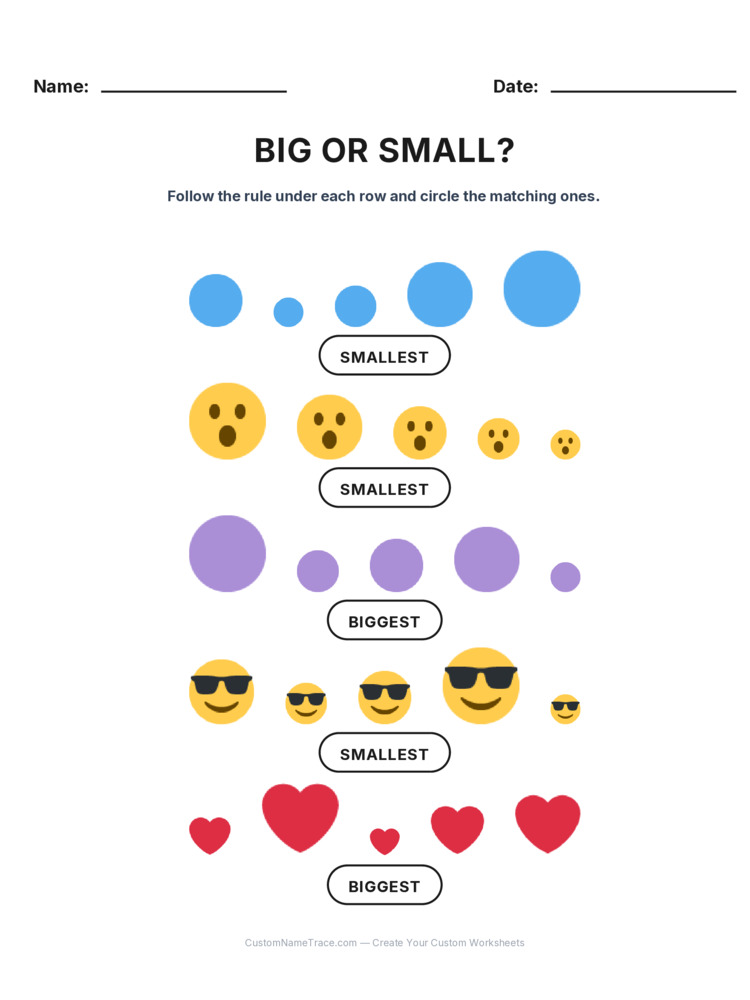
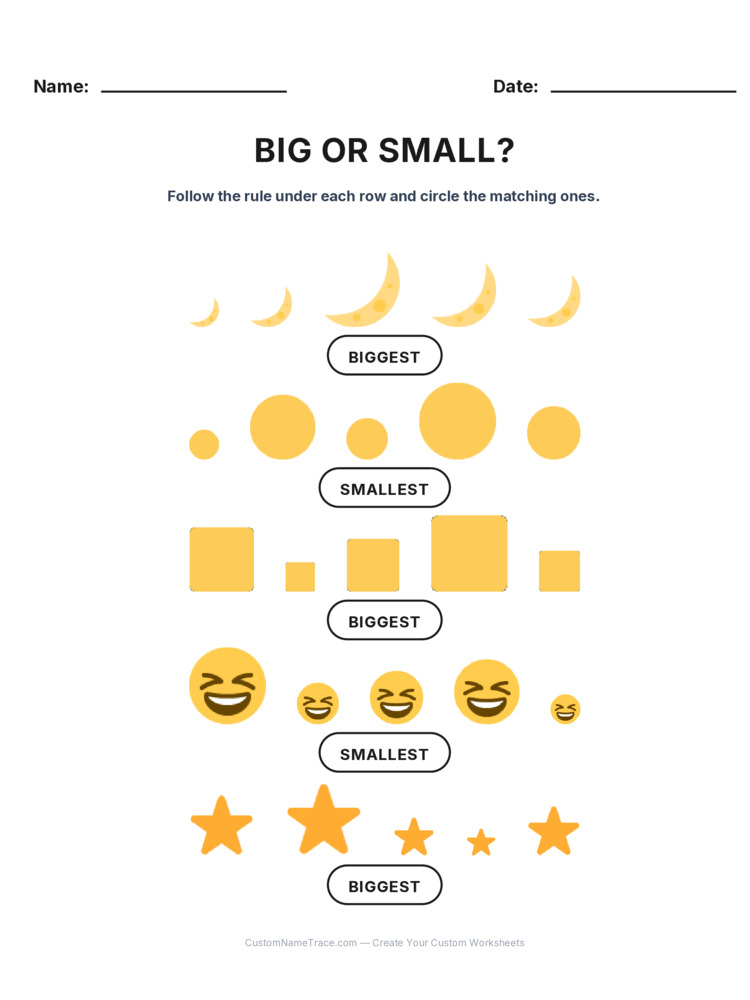
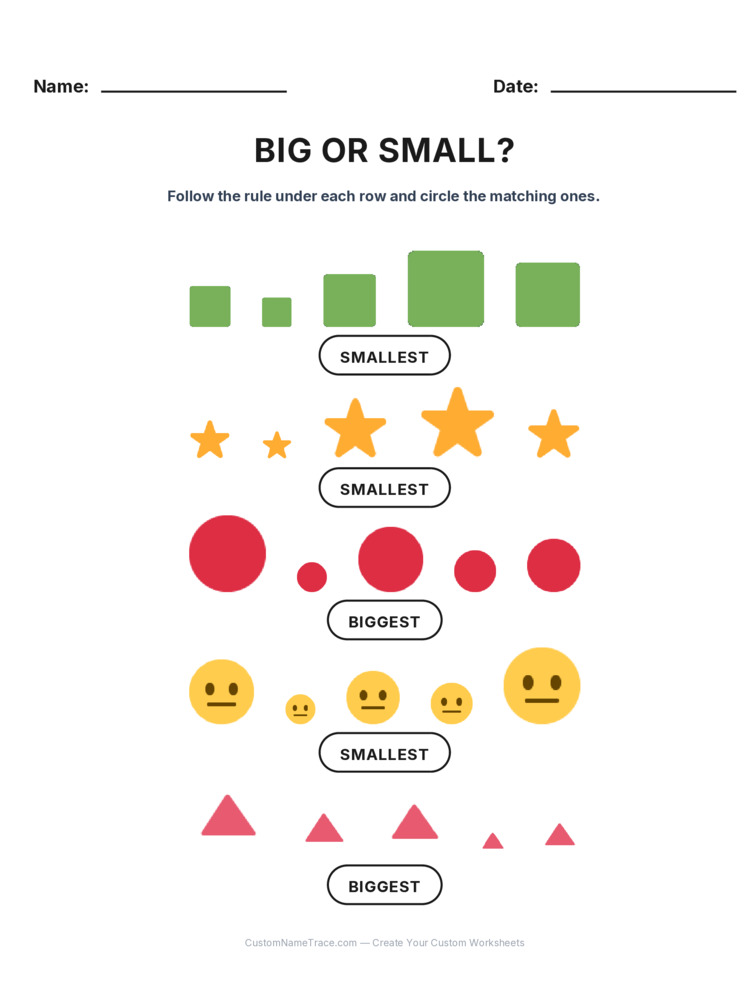
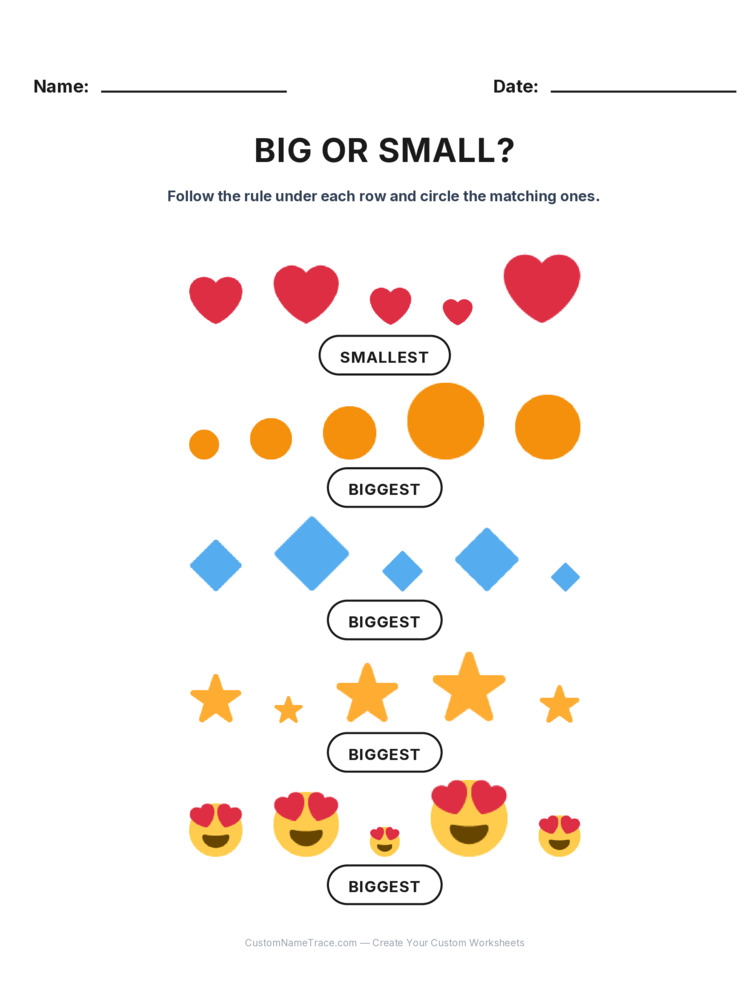
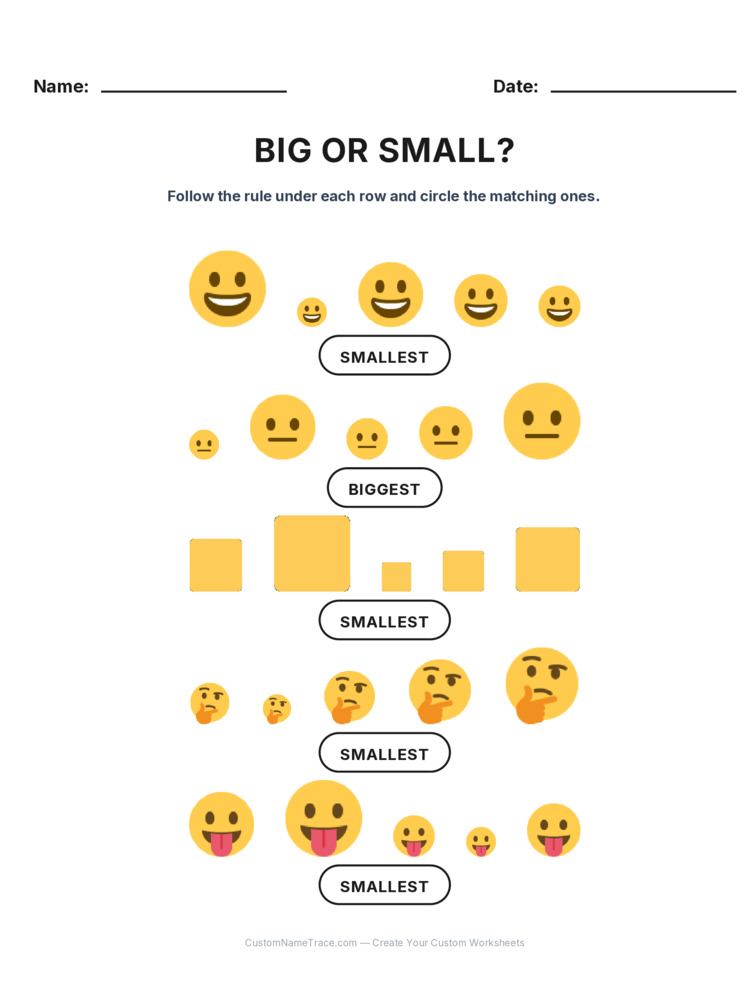
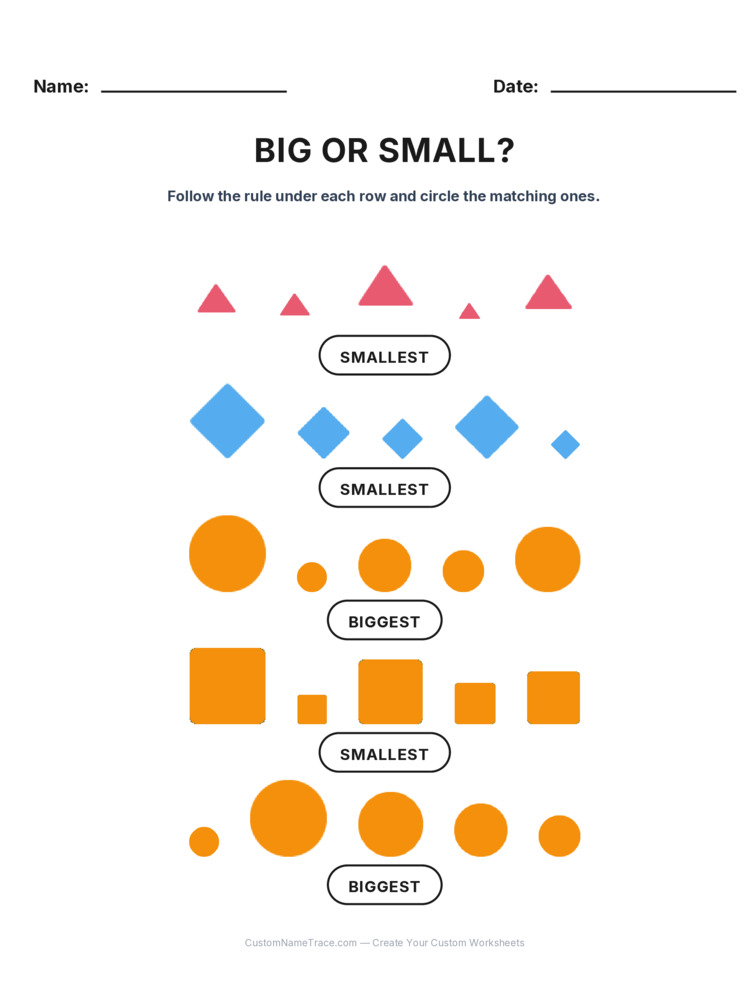
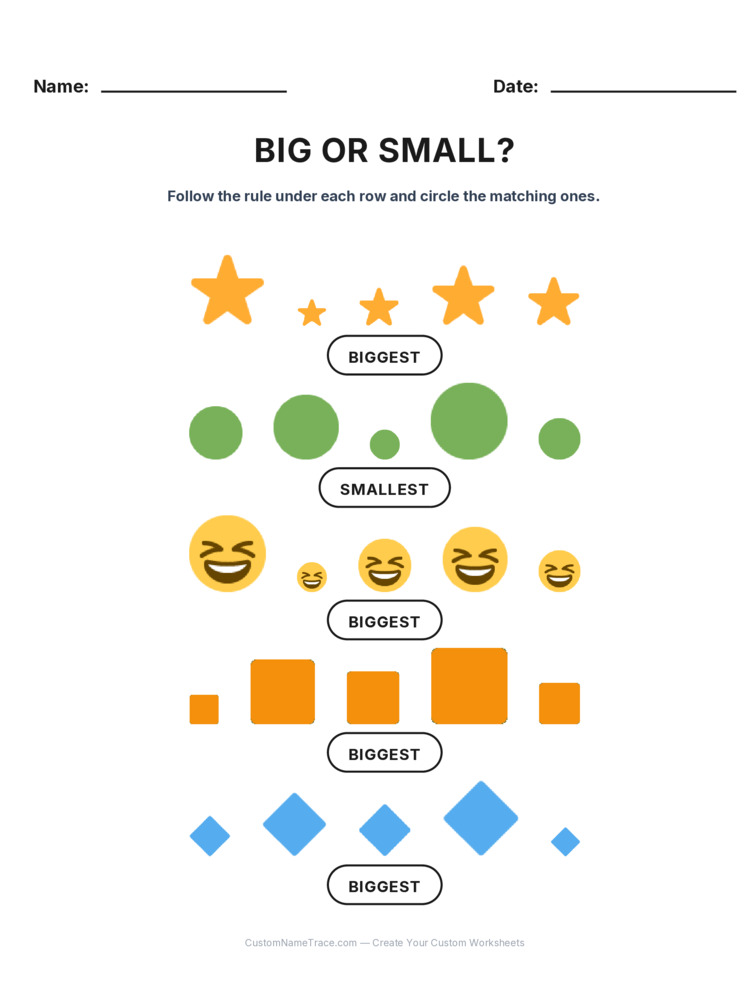
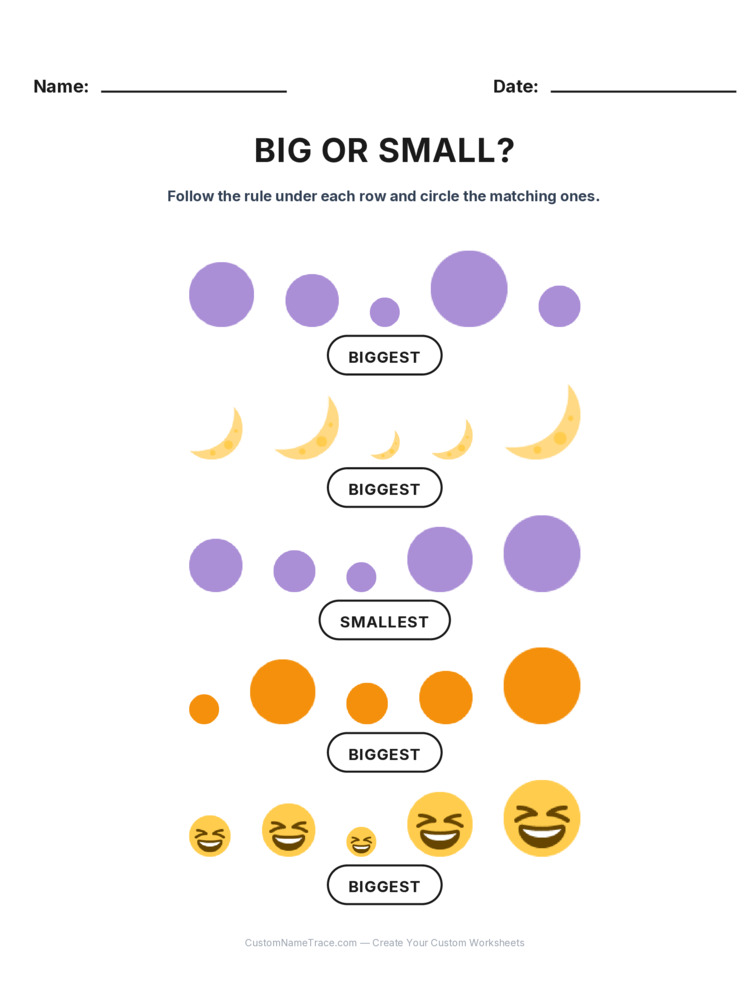
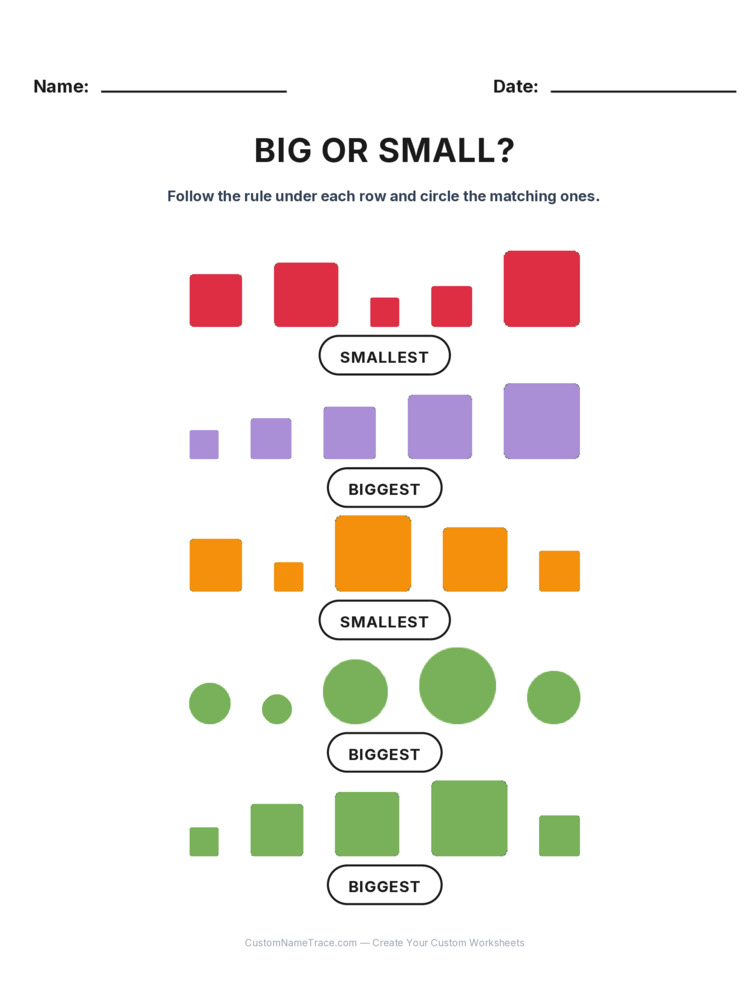
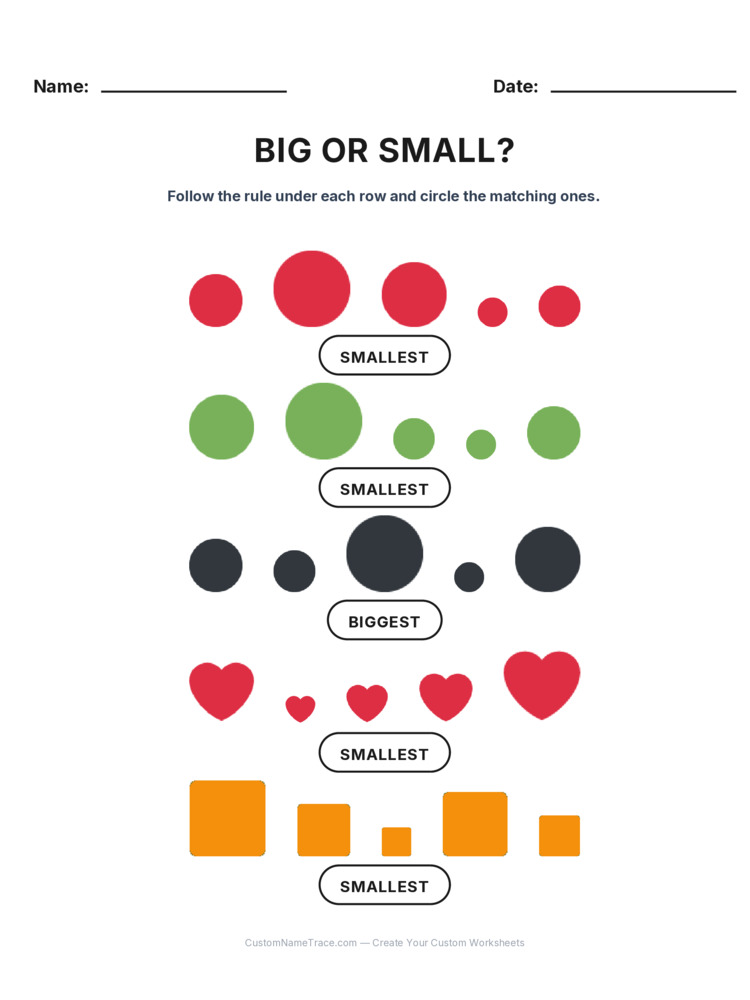
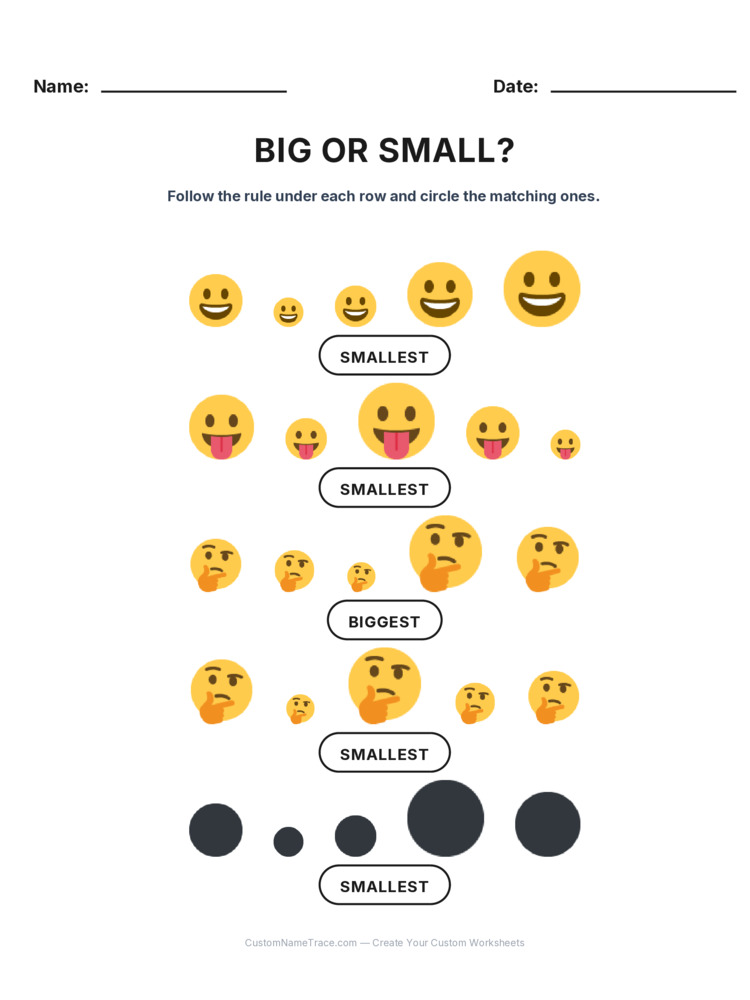
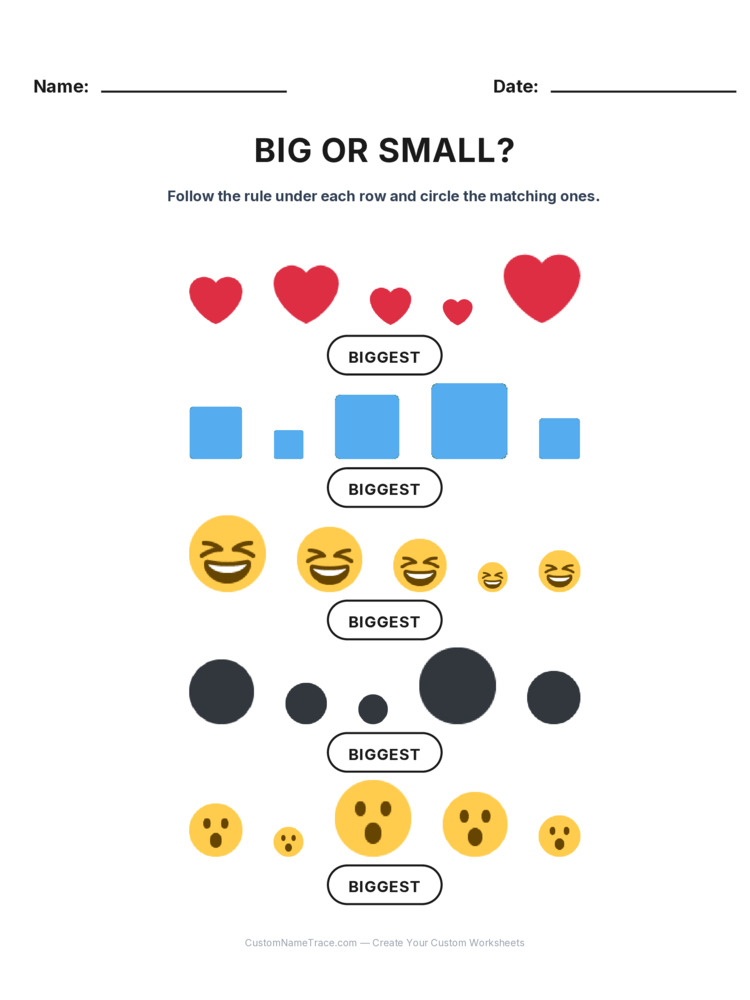
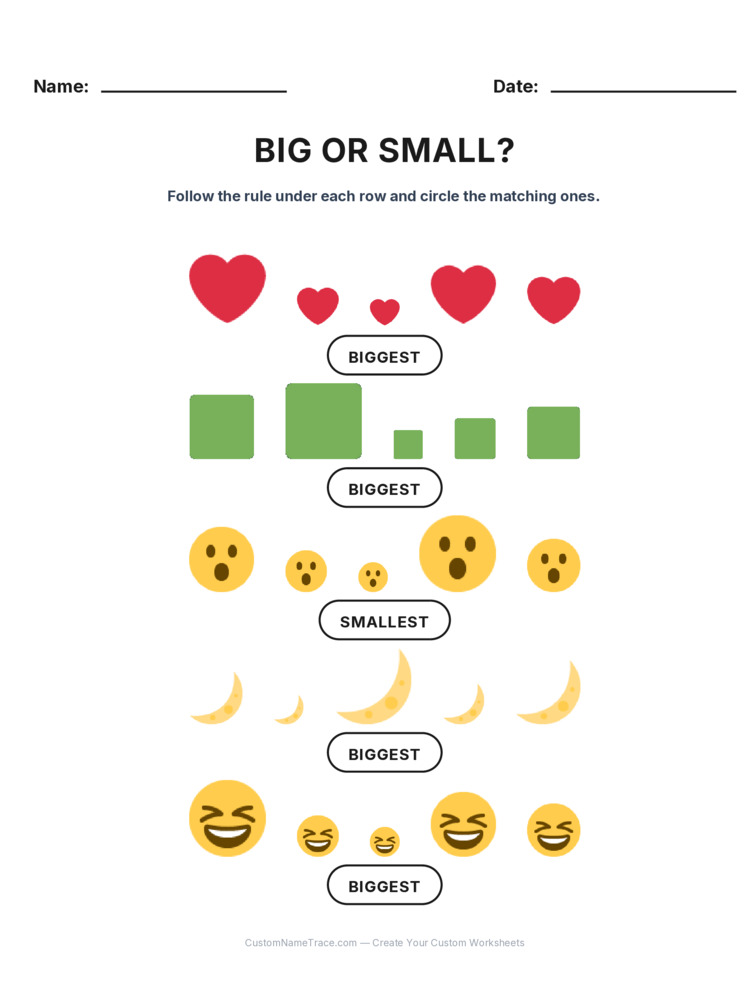
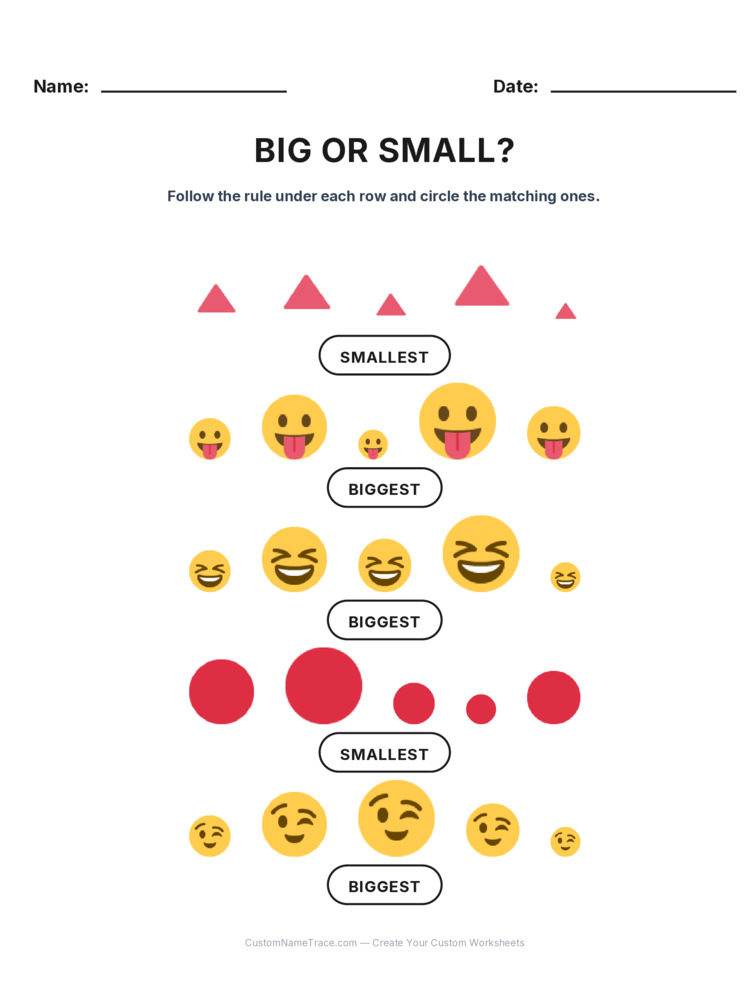
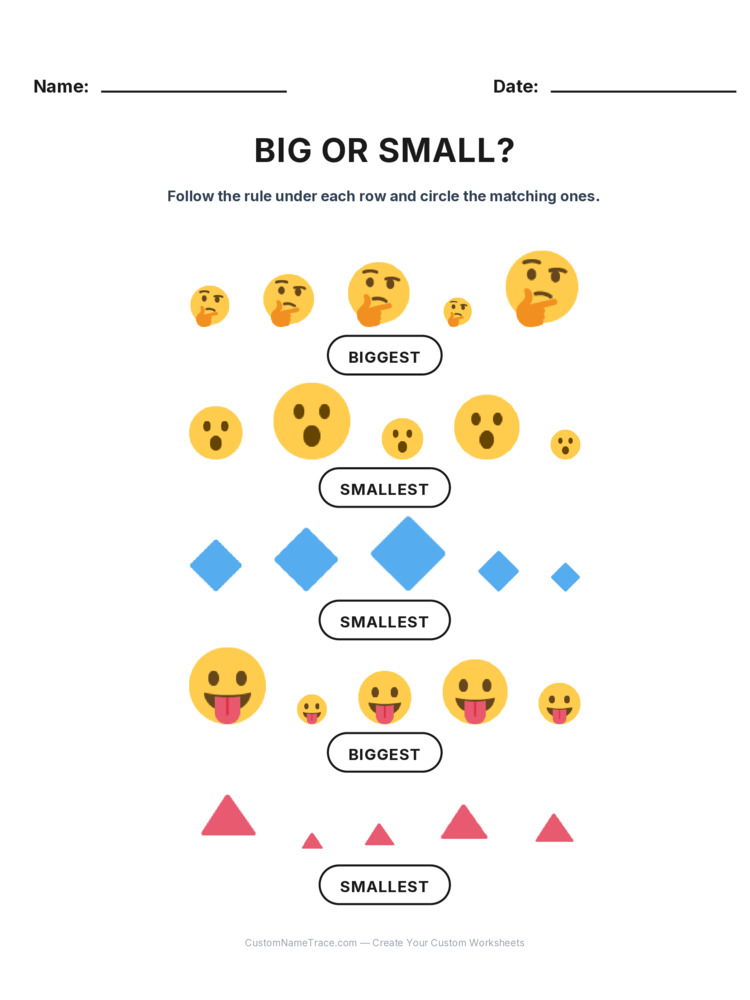
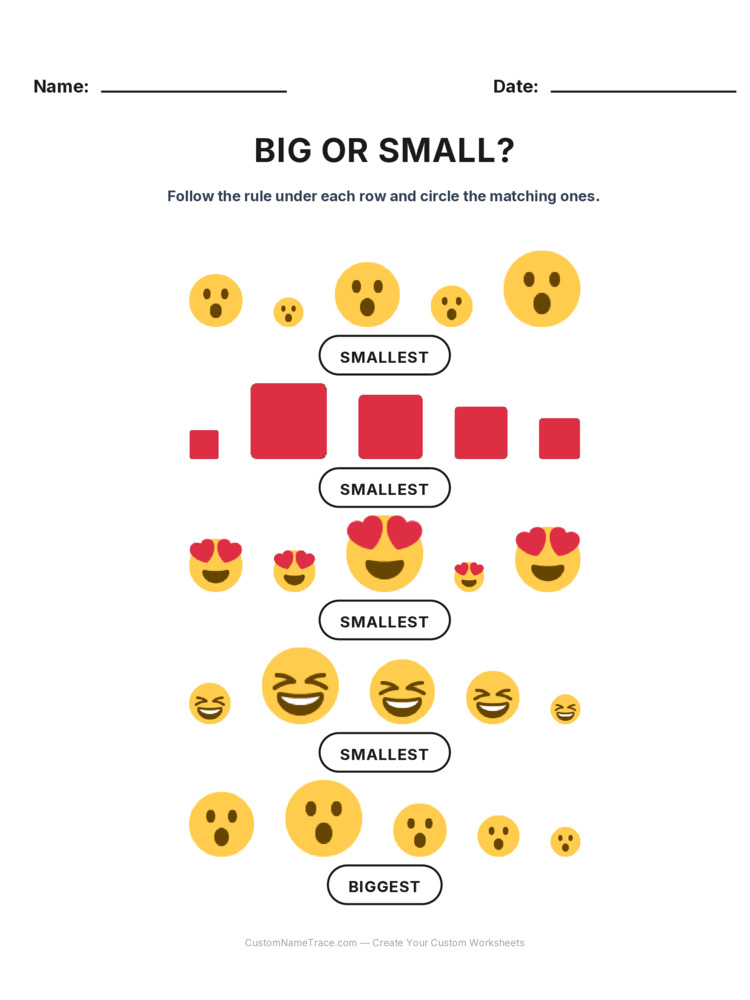
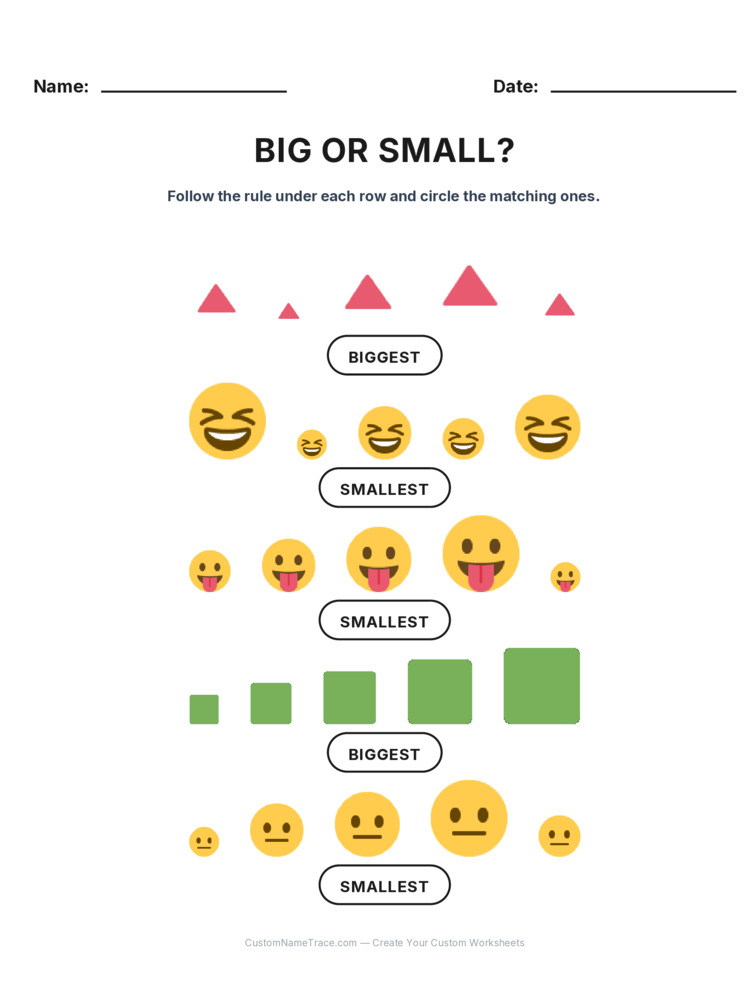
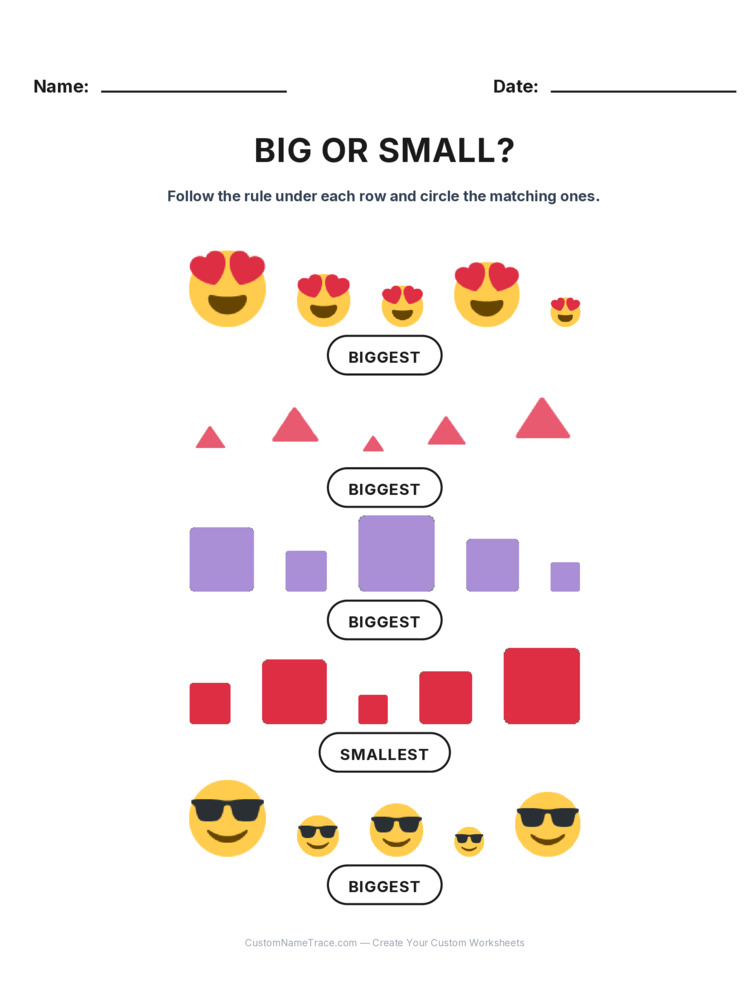
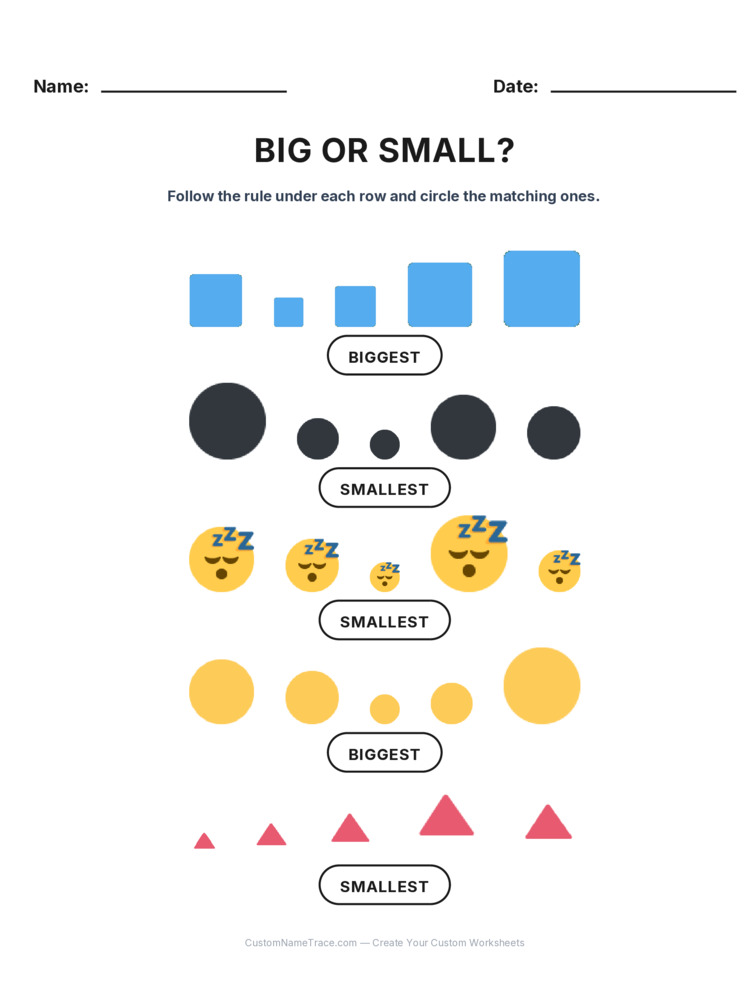
The rule that changes every row
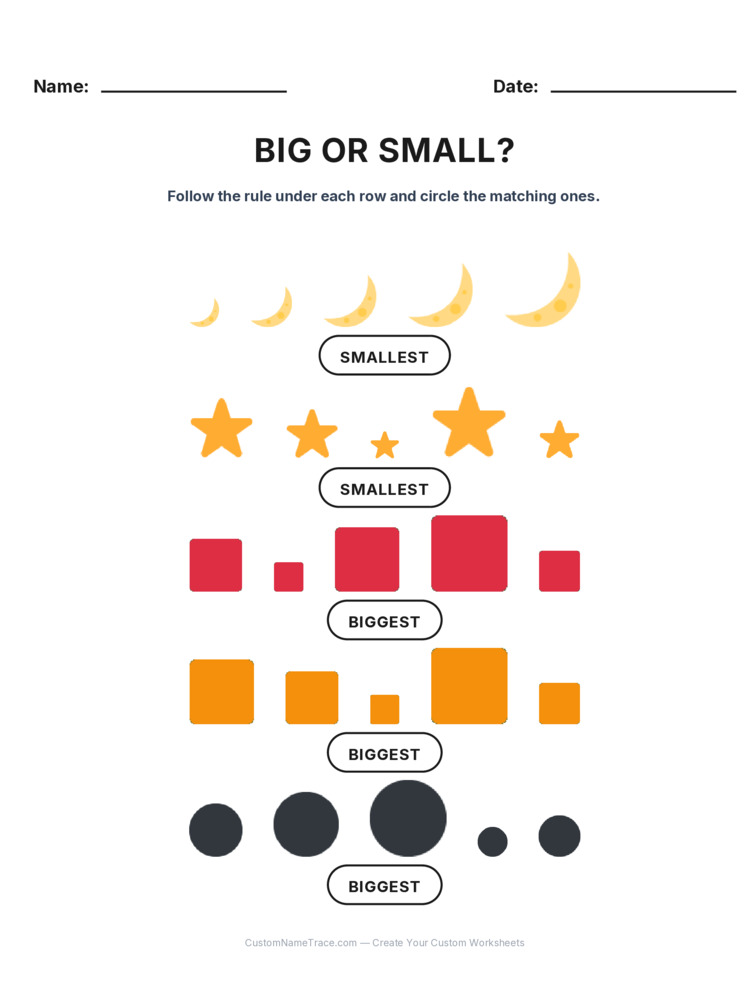
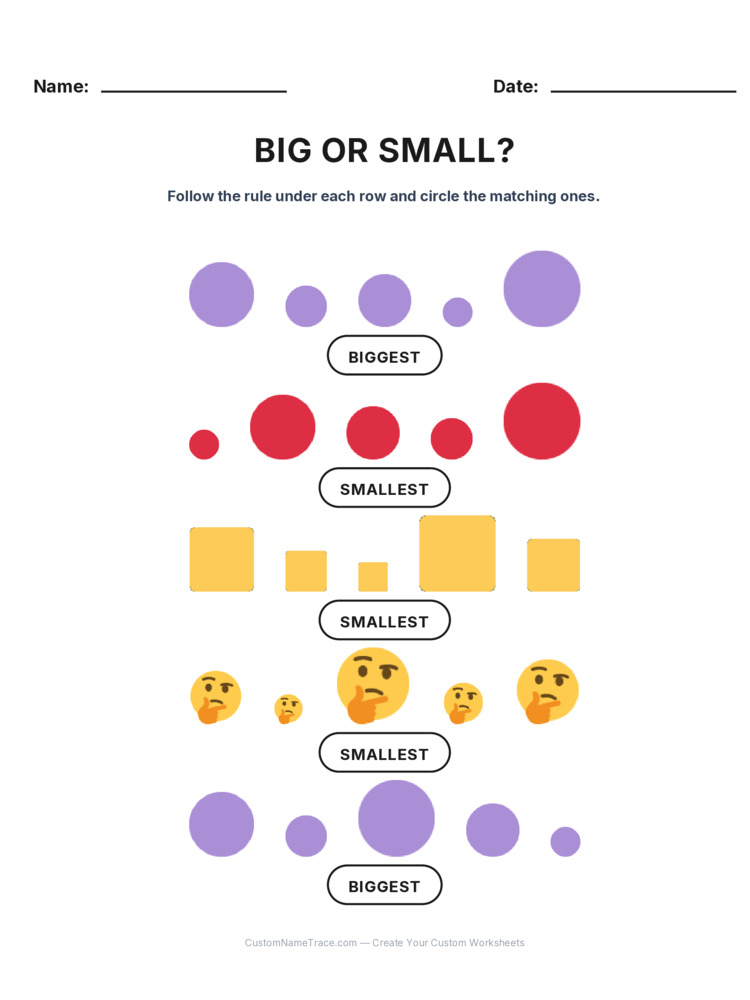
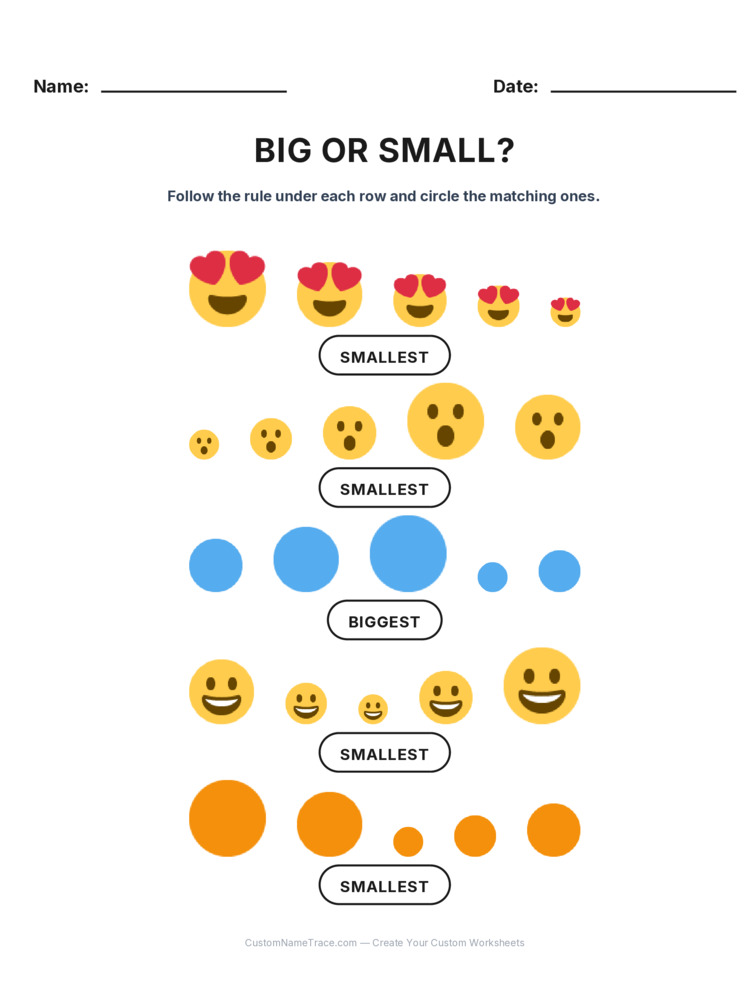
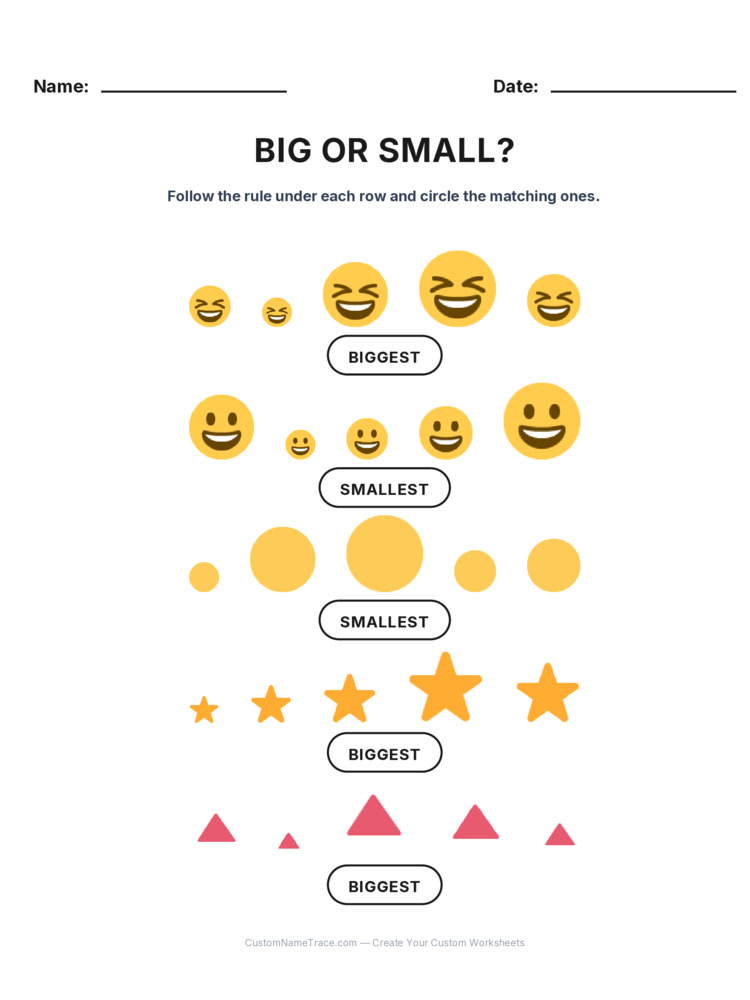
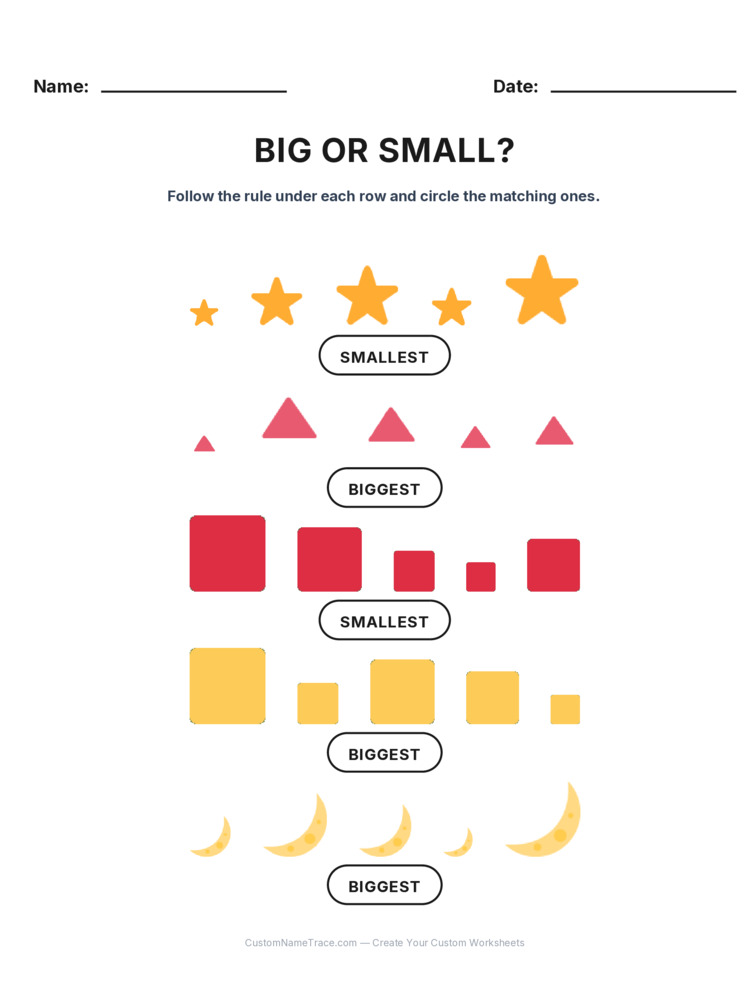
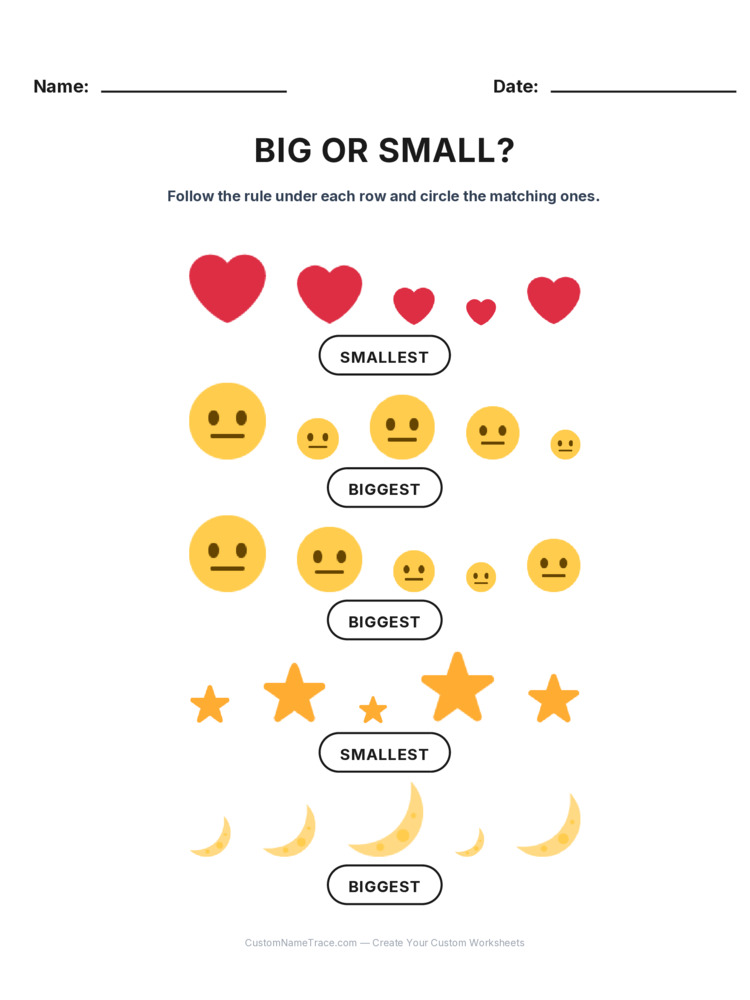
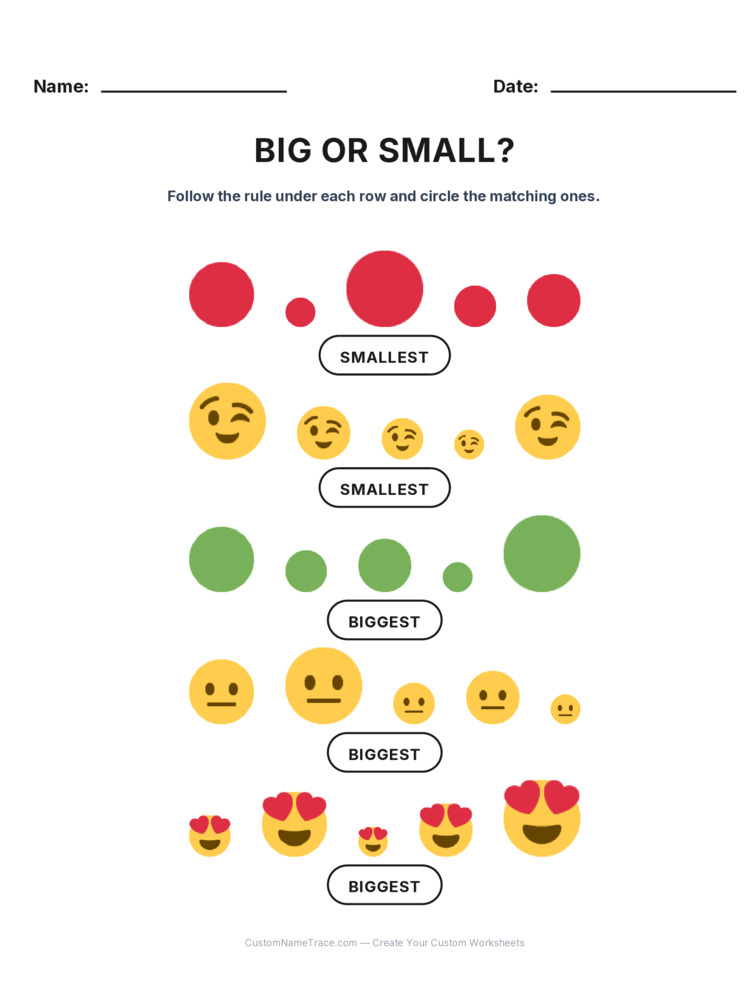
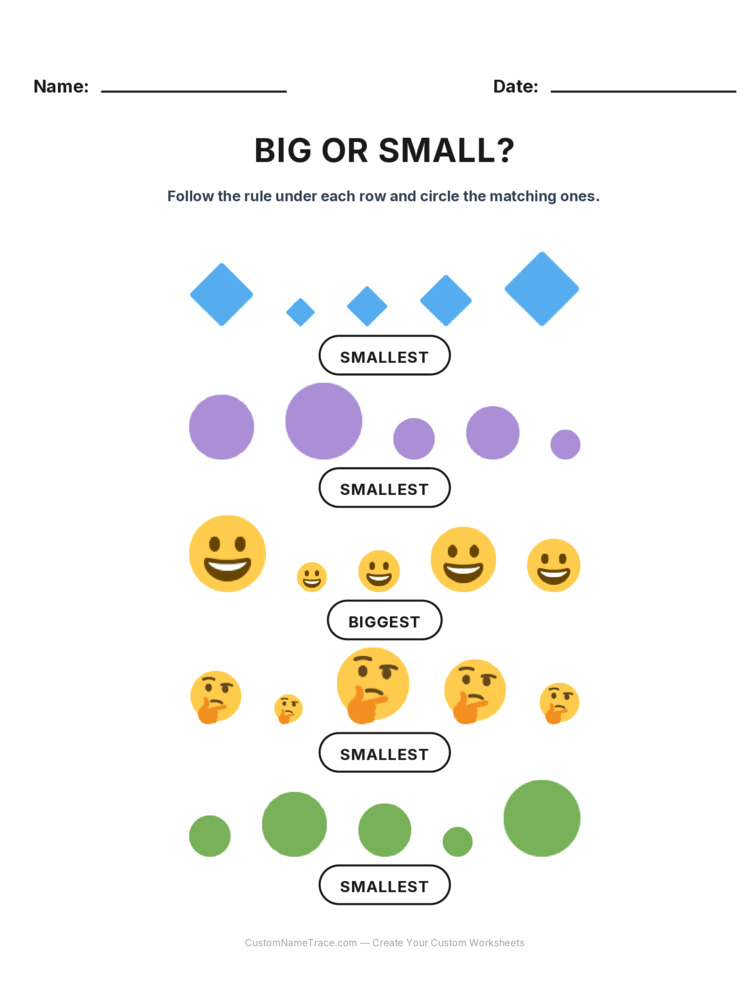
Each row shows the same picture repeated at several different sizes, with an instruction underneath — sometimes "circle the biggest," sometimes "circle the smallest." The rule genuinely changes from row to row rather than staying fixed for the whole page, and that's the entire point of the exercise. A worksheet that always asked for the biggest would let a child stop reading the instruction after the first row and just repeat the same motion five more times. Because the rule flips, every row requires actually checking what's being asked before answering — which is a real habit, not a given, at this age.
This is one of the earliest worksheets on the site that asks a child to check an instruction before acting rather than pattern-matching from the row above. That habit — read (or have read to you) what's being asked, then look at the row, rather than the other way around — is foundational for almost everything that comes after it in school, from following multi-step directions to word problems that ask for the difference instead of the sum. Size Sorting introduces it in the lowest-stakes possible form: five pictures, two possible rules, immediate visual feedback.
Each worksheet holds five rows, each with its own independent "biggest" or "smallest" instruction. That's short enough to complete in one sitting without the rule-checking habit breaking down from fatigue, and long enough that a child genuinely has to keep re-checking rather than settling into a single repeated motion by row three.
Big and small as relative ideas
Because every picture in a row is the identical image just scaled, a child can't rely on knowing which object is "supposed to be" big or small in real life — a scaled-down elephant next to a scaled-up mouse would be the wrong lesson entirely, and this worksheet avoids that trap by using one object per row throughout. What's actually being compared is purely relative size within that row, which is the mathematically correct foundation for the size-comparison language ("bigger than," "smaller than," "biggest," "smallest") a child will use constantly in early math.
If a child consistently circles the wrong end of the size range, the confusion is usually the vocabulary, not the visual judgment — most children can see which picture is bigger long before they reliably say "bigger" and mean it. Point to two pictures at a time and ask "which one is bigger?" as a warm-up before starting the worksheet itself, building the word-to-concept link explicitly rather than assuming the worksheet alone will do it.
A child who circles an answer immediately on every row, without any visible checking, may be relying on a fixed spatial habit — always picking the picture in the same position — rather than genuinely comparing sizes. Occasionally asking "how do you know that one's the biggest?" and expecting an actual size-based answer (not just a shrug) is a quick way to confirm real comparison is happening rather than a lucky positional pattern in that particular worksheet's layout.
The main pitfall, and how to catch it
The single most common mistake on this worksheet isn't a size-judgment error at all — it's answering the previous row's rule out of habit without re-reading the current one. If a child is getting rows wrong despite clearly being able to see which picture is bigger or smaller, the fix is almost always to build in a deliberate pause: read the instruction out loud, together, before looking at the pictures at all, every single row, until it becomes automatic rather than skipped.
When the size differences between pictures in a row are subtle rather than obvious, encourage lining the row up left to right by eye before answering rather than jumping straight to the first picture that looks big — a deliberate left-to-right scan catches close calls a quick glance sometimes misses.
Building the skill hands-on
Lining up three or four real household objects of different sizes — stacking cups, toy blocks, spoons — and asking a child to point to the biggest or smallest one builds the identical comparison-and-rule-check skill in a hands-on form. Because the objects can be picked up and physically rearranged, this version gives a child immediate, tactile feedback that a printed page can't, and it's a natural warm-up to play right before handing over the worksheet itself.
For a child who enjoys this format, following it up with an actual tape measure or ruler — measuring a few household objects and ranking them from tallest to shortest — extends the same biggest/smallest reasoning into a context with real numbers attached rather than pure visual comparison. That extension isn't necessary to benefit from the printed worksheet on its own, but it's a natural next step for a child who's clearly ready to connect the size-comparison language they've practiced here to an actual unit of measurement.
This worksheet deliberately sticks to just two extremes — biggest and smallest — rather than adding a middle option, since introducing a third relative category (medium, or "in between") before the two-extreme comparison is solid tends to muddy both concepts at once. Once a child reliably picks out the biggest and smallest without hesitation, adding "middle-sized" as a verbal game away from this worksheet is a natural next step, rather than something this particular page needs to teach directly.
Where this leads
Size Sorting is a purely visual precursor to number comparison — "which is bigger, 7 or 4?" is the exact same underlying question asked with numerals instead of pictures. A child who's genuinely fluent at comparing sizes visually, and flipping the rule between biggest and smallest on request, has already built the comparison instinct that later greater-than/less-than work depends on.
The vocabulary this worksheet builds — biggest, smallest, bigger than, smaller than — is the direct verbal foundation for comparing numbers once a child starts formal math: 7 is bigger than 4 uses exactly the same comparison language as this worksheet's pictures, just applied to numerals instead of images. A child who's fluent describing which picture is bigger or smaller has already internalized the language a later greater-than/less-than lesson depends on, well before the numbers themselves are introduced.
Biggest and smallest are just two entries in a much larger family of comparison words a child will need — taller, shorter, heavier, lighter, longer, shorter again in a different sense — and Size Sorting is best understood as the first, simplest member of that family rather than the whole of it. Once biggest and smallest feel automatic, the identical rule-check-then-compare structure transfers directly to any other comparison word a parent or teacher wants to introduce next, using the same kind of row-of-objects setup with a different instruction underneath. Treating this worksheet as a template for a skill, rather than a single fixed lesson about size specifically, makes it easy to keep reusing the same successful format — a row of related items, one changing instruction — well past the point this particular printed page has been outgrown.
It would be possible to teach "biggest" and "smallest" purely as vocabulary — point at a picture, name it — but this worksheet insists on genuine comparison across a full row every time, which is what keeps it a reasoning exercise rather than a labeling one. A child has to actually look at every picture in the row before answering, not just recall which word applies to which single item, and that full-row comparison, repeated across five rows with a changing rule, is the actual logic content underneath what looks like a simple vocabulary worksheet on the surface.
Print at full size rather than a shrunk "fit to page" scale — the size differences between pictures in a row are the entire puzzle, and shrinking the page shrinks the size gaps along with everything else, which can genuinely make a clear row ambiguous. Each numbered variant uses a different picture and a fresh mix of biggest/smallest instructions, so repeat practice doesn't mean repeating the same page.